
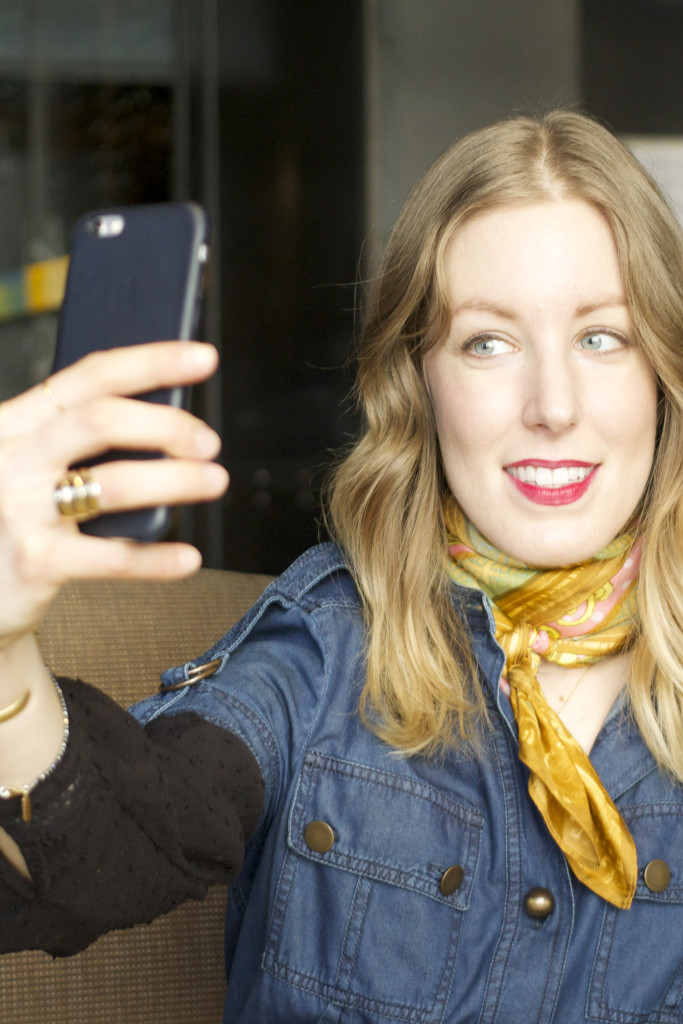
I’m not a “selfie” person, but I found myself at Landmarc in Columbus Circle practicing my pose with professional photographer, Ashley Sears, and world-renowned cosmetic dermatologist, Dr. Jaliman, talking about it over tea. We also chatted about the new treatment on the market to zap away those frown lines we’re all getting as we get older called Xeomin, and other ways how to look your best with digital cameras all up in your face these days.
I work with photographers and models almost daily, so I pick up tips and tricks often, yet after actually delving into the topic of selfies with Ashley, I feel like there was so much more to learn when you’re doing it yourself, sans professional photographer.
Check out her tips on how to take the perfect selfie every time below:
- Hold the phone at eye level or slightly above—never under, which will give you multiple chins.
- Most people are naturally more photogenic from one angle or another, look back through old pictures and you’ll start to see a pattern. Once you know your “best side”, it’ll save you time trying to frame the shot.
- Push your chin slightly out. It feels awkward, but it helps create a strong jaw line and pulls your chin away from your neck.
- Turn your face 3/4 slightly. Most people have asymmetry in their faces, so this can hide it. Straight on and direct profile shots are rarely flattering on anyone.
- Push your tongue to the roof of your mouth when you smile. It may feel awkward but it will lift the muscles under your chin to help get rid of any double troubles. For a perfect natural smile, skip the “cheese” and say the word “Nice” instead.
- Hold your phone up, as if you’re ready to take a selfie and then turn around in a circle, watching how the light change based on what direction your facing. You may not have the luxury of moving in a complete 360 if you’re trying to get a particular background, but it’s a fast and easy way to help you find the perfect light.
- Natural light is typically the best light (you don’t have to be outside, you can just stand near a window) but avoid high mid day sun, a little cloud cover actually diffuses the light, making it softer where as bright direct sun creates hard shadows that overemphasize any lines, creases, and blemishes. Avoid strong light from directly above (indoor office lighting), below, or from the side. Much like the hot sun, it will cast deep, dark shadows around your eyes, next to your nose, on your cheeks, etc. If you must shoot inside, try adding additional lighting or even a mirror (like this demonstration with my compact below) to reflect onto your face, the way a photographer would use a reflector to bounce light. While direct frontal light (like a flash) will help blow out imperfections, you don’t want the image to be too flat either. Shadows in the right places add dimension, and help flatter your face.
- Know your audience: You’re not going to snap a pic at grandma’s 90th birthday same way you might take one for your significant other.
- Know your assets: Figure out what it is you love most about yourself, and highlight it.
- That goes for personality too: If you’re going to take a selfie, it should reflect your best self, not be a desperate plea for attention. Whether you’re trying to be funny, or cute, or serious ,or sexy, if you aren’t confident and comfortable in the frame – it will show.

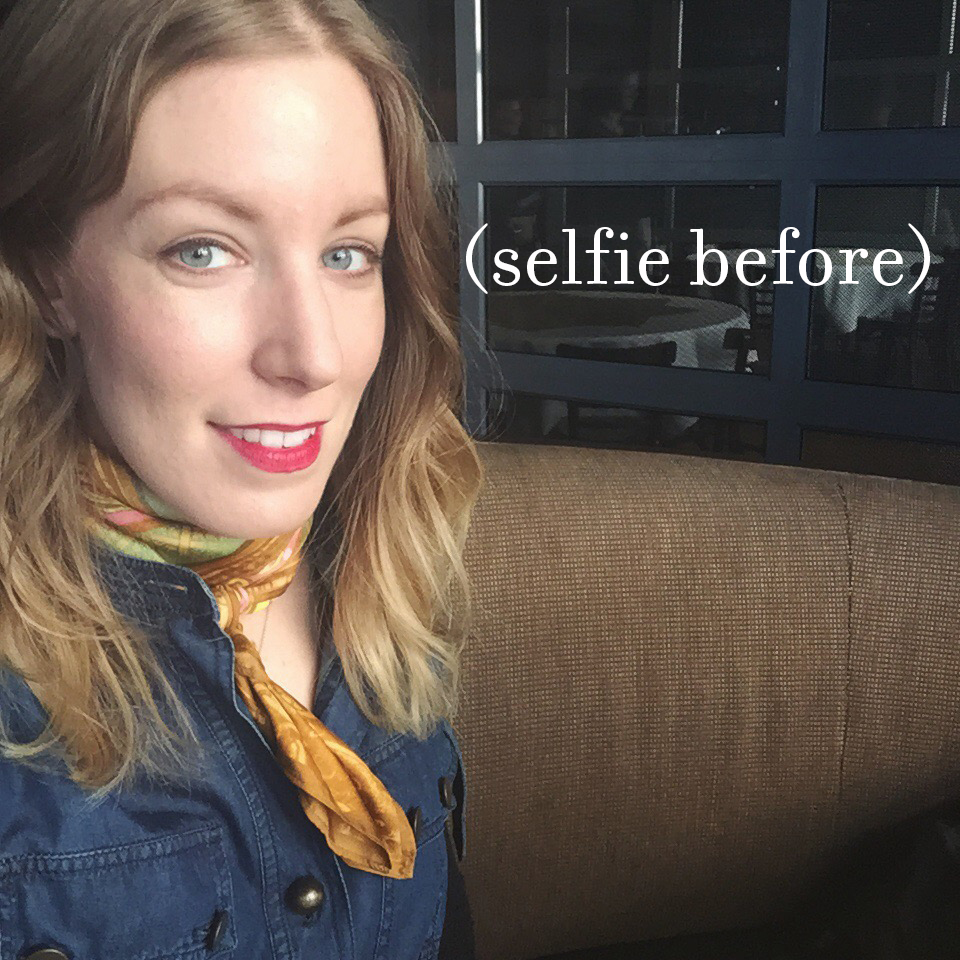
This may be the one time I’ll let you get this close to my face, but you can see that the lighting is nice daylight, but not enough to erase those imperfections. While I don’t have frown lines (yet…must be because I smile a lot), I can see other imperfections. Everyone has them. Thanks to digital cameras everyone can see them. That’s why I had my wedding shot in film photography. Even modern day goddesses like Beyoncé, Rihanna, and top models (trust me) have them. They’re just fortunate to always have great light following them (and maybe even a fan to blow their hair perfectly).
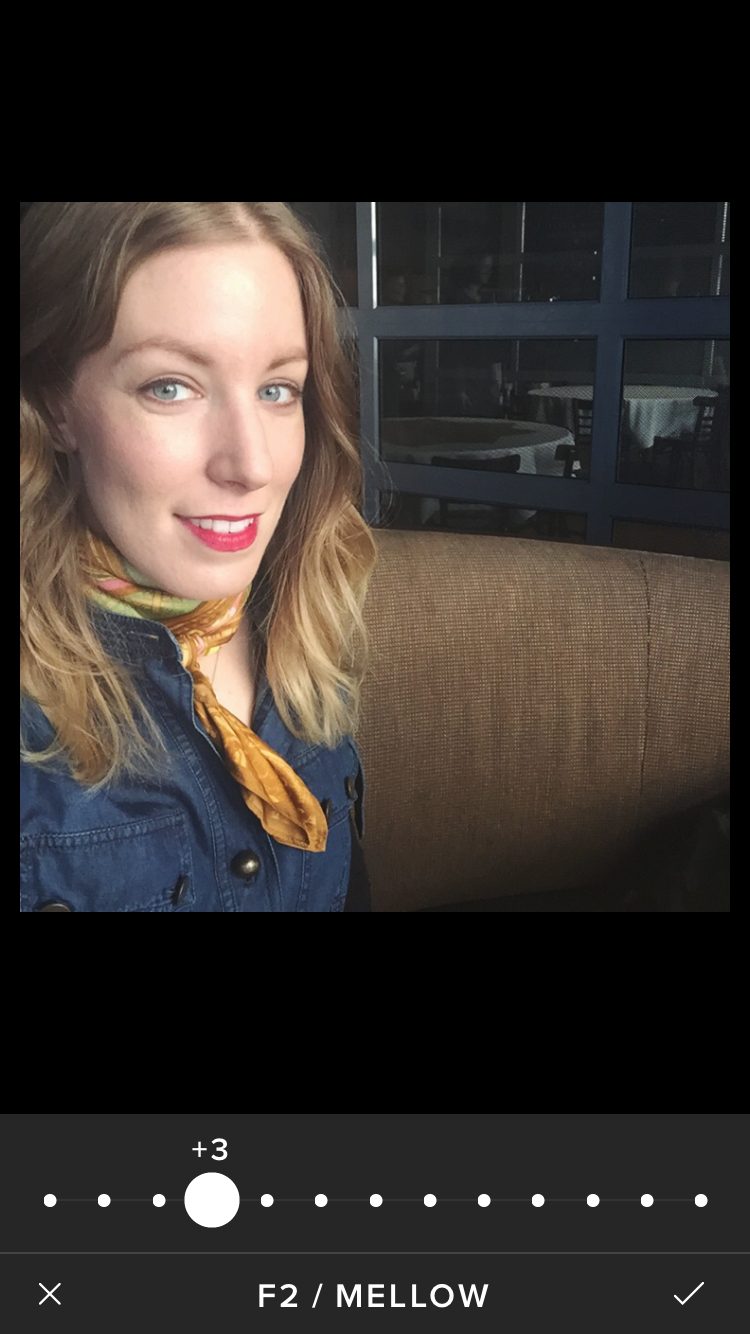
I personally don’t love the Instragram filters—which tend to mask the imperfections—as it usually look like you put a filter on the shot, so I tend to seek help from other apps. VSCO cam is my favorite to use, if I use one at all, because I get a soft, warm filter on the image that I can control. I almost always go for F2, which has a yellow tone to it, and I drop it down so it’s just a hint of it.
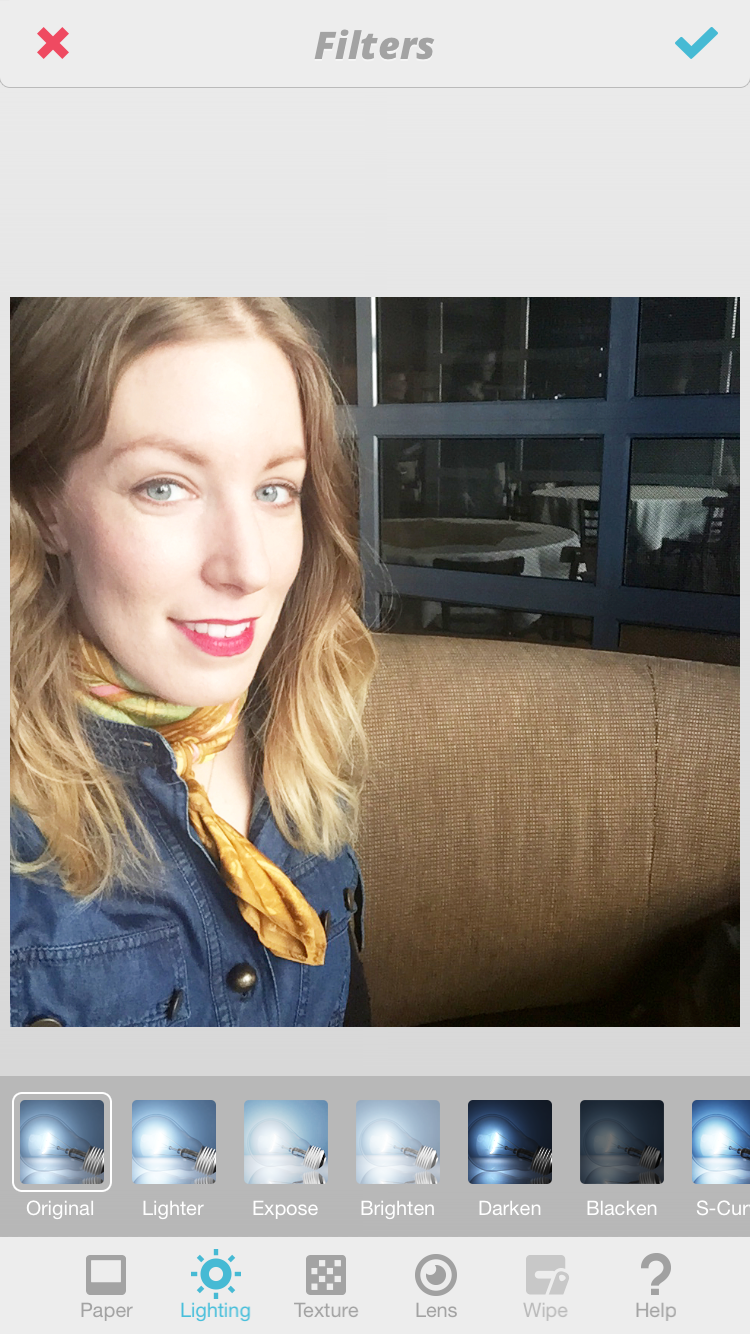
Next I almost always use Facetune because it has the option to lighten my image when there’s just not enough exposure in the shot. Remember, the more light hitting your face, it will blow out your imperfections.
Instagram has this feature too, but I find this one works even better because it keeps the contrast and tones. Facetune is kind of like Photoshop for your iPhone. It’s not a free app, but trust me, it’s worth the splurge, as you can make your photos perfect. If there’s a piece of lint on my shirt that’s bothering me, I can remove it. You can also blur out the background and do other cool effects with it.
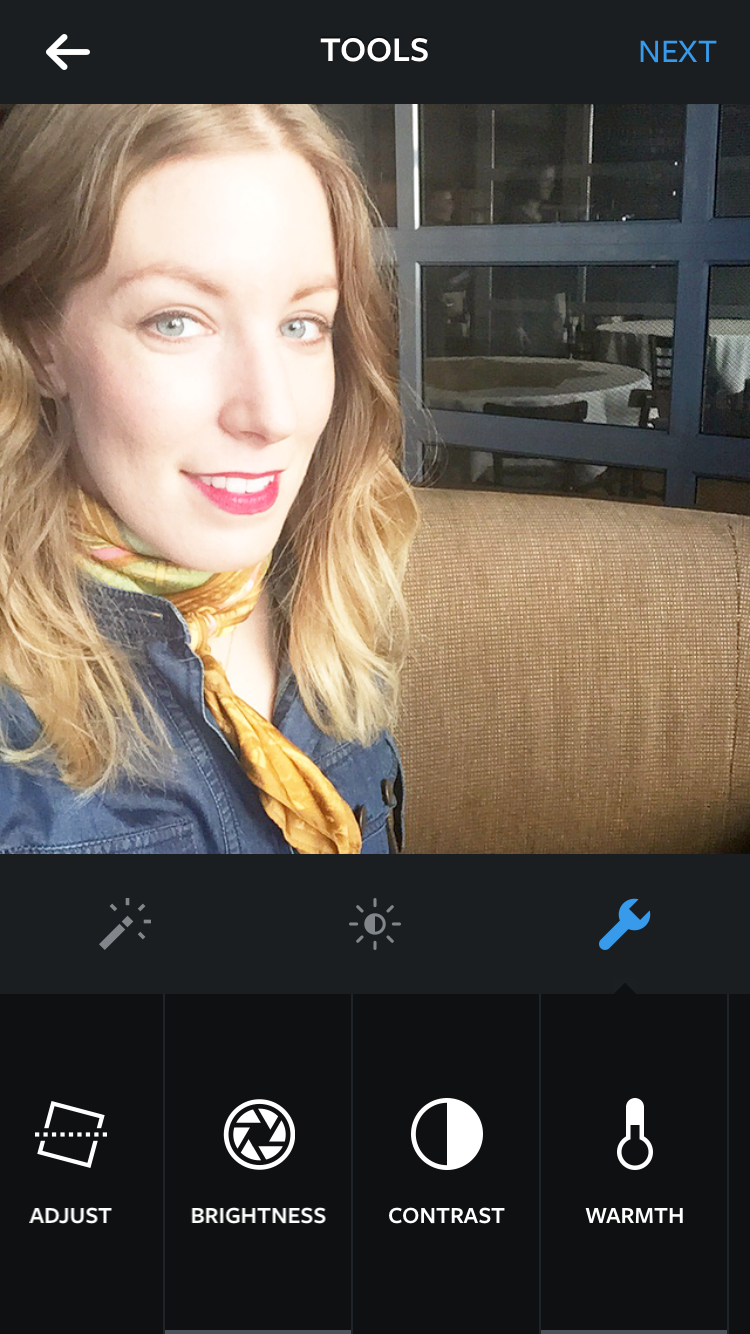
Lastly, I bring it into Instagram and if it still needs, they now have tools where you can adjust further before posting. Check out my final selfie here and follow me, and maybe I’ll post more selfies down the road. Maybe.
How do you “selfie”? I would love to hear your personal tips and tricks…and if anyone has ever used a selfie stick!
photos by Ashley Sears (except for selfie, which is of course by me!)